Home
Home
Best Methods to Convert Any Image Scanner File to Editable Text

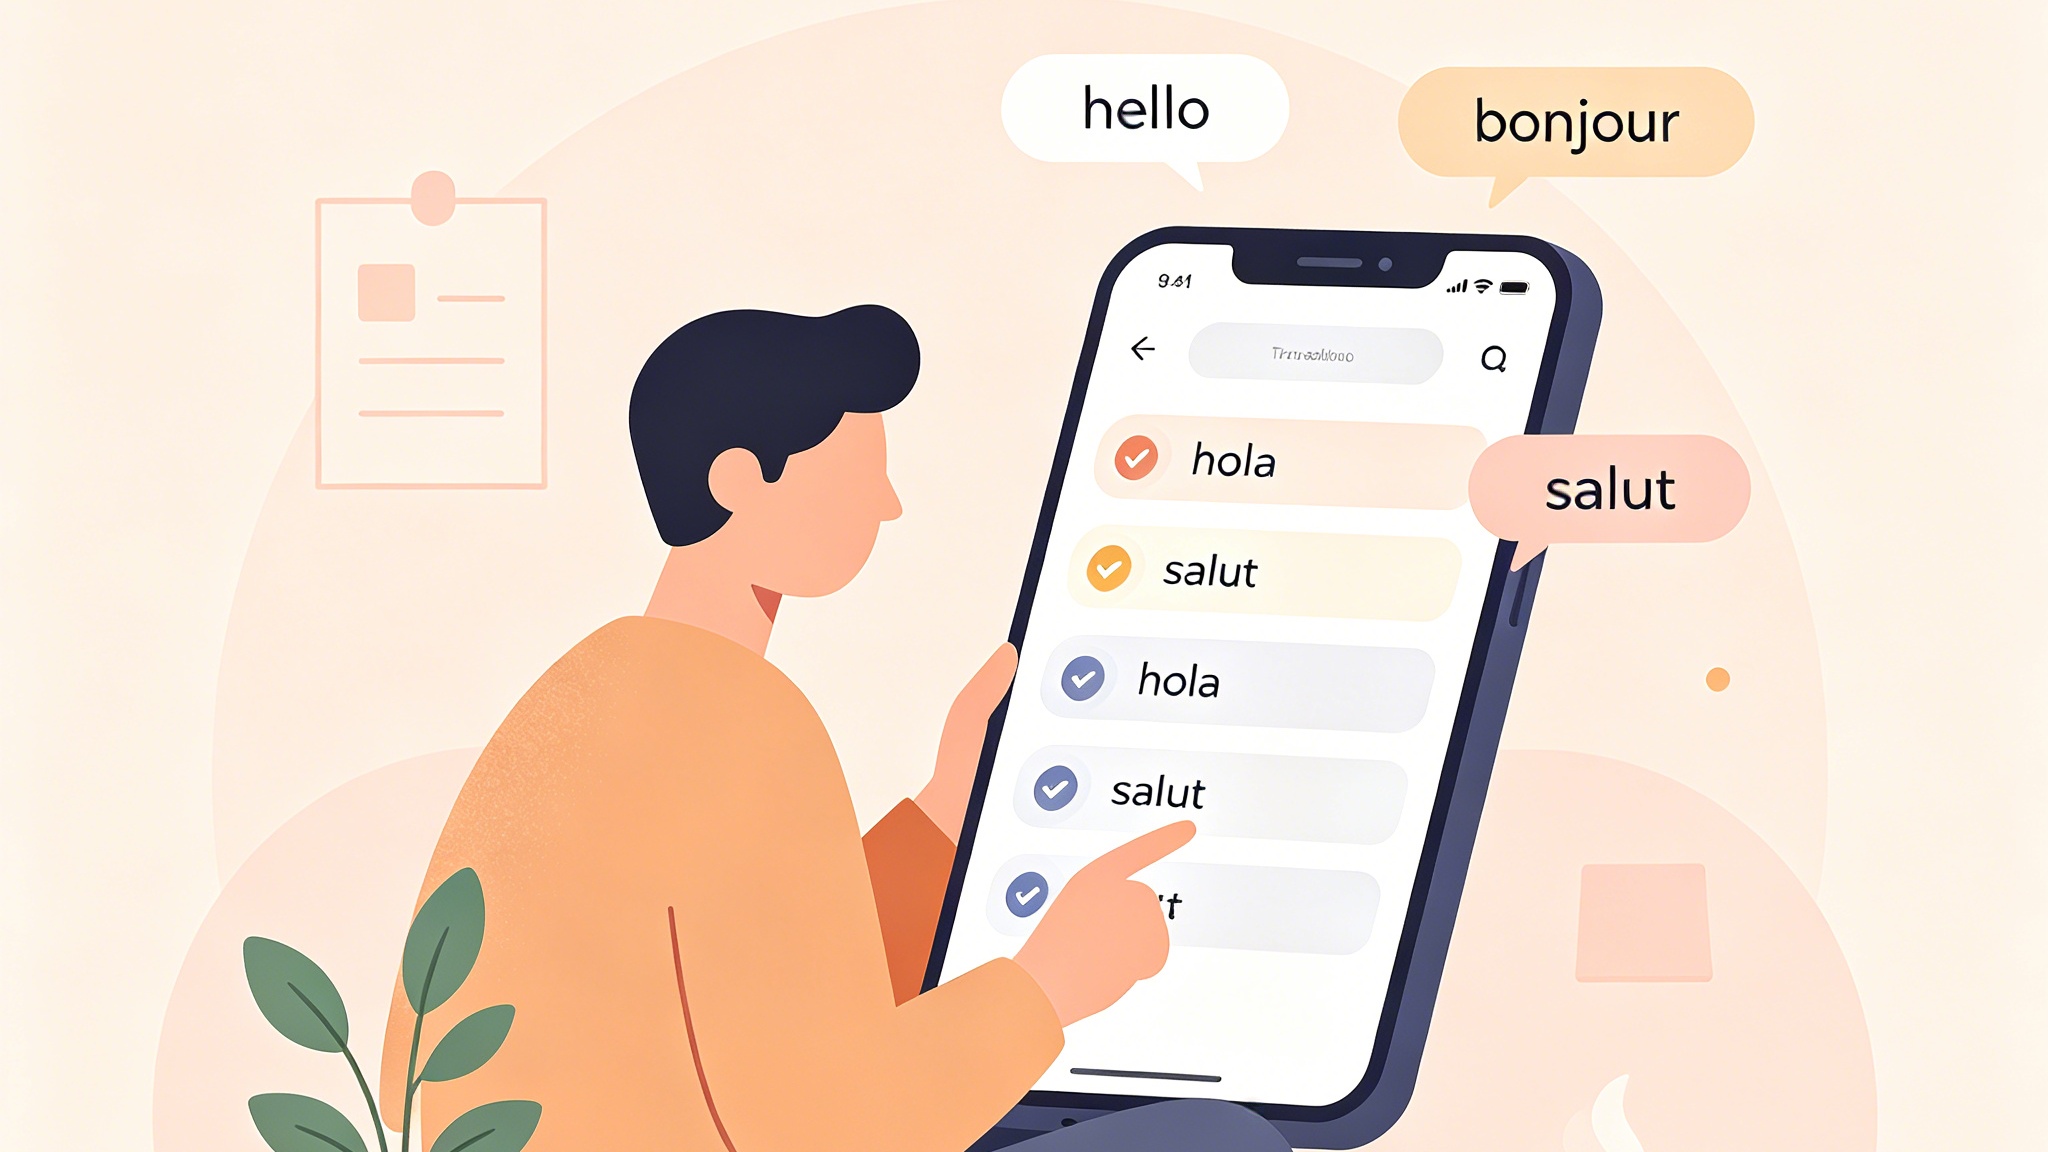
Converting a static image or a physical scan into editable, searchable text is no longer a futuristic concept; it is a fundamental part of modern digital workflows. This process, known as Optical Character Recognition (OCR), bridges the gap between physical paper and digital data. Whether you are a student digitizing library notes, a legal professional managing thousands of scanned contracts, or a casual user trying to copy a recipe from a photo, choosing the right tool determines the accuracy and speed of your results.
To get text from an image immediately, the most effective tools today include Google Lens for mobile users, Adobe Acrobat Pro for professional document management, and built-in features like Apple’s Live Text or Windows Snipping Tool for instant tasks.
Understanding the Technology Behind Image to Text Conversion
Before diving into the "how-to," it is essential to understand what happens when a machine "reads" an image. When you use a traditional scanner or a smartphone camera, the output is a raster image—a grid of pixels. To a computer, a scanned page of text is just a collection of colored dots, not letters or words.
OCR technology uses sophisticated algorithms to analyze these patterns of pixels. It looks for light and dark areas to identify the shapes of individual characters. Modern OCR has evolved from simple pattern matching (comparing shapes to a library of fonts) to feature extraction, where the software recognizes the underlying "skeleton" of a letter (e.g., two diagonal lines meeting at a point with a crossbar for an "A"). Today’s most advanced engines utilize AI and neural networks to understand context, which helps them distinguish between similar characters like the number "0" and the letter "O," or the lowercase "l" and uppercase "I."
How to Convert Images to Text on Mobile Devices
Mobile devices have revolutionized OCR by turning every smartphone into a portable high-end scanner. For most users, this is the most convenient way to handle quick conversions.
Extracting Text with Google Lens
Google Lens is arguably the most powerful free tool for instant text extraction. It is integrated into the Google Photos app on iOS and Android, and can also be used through the dedicated Google app.
Experience Note: In testing, Google Lens excels at recognizing text in "wild" environments—such as text on a curved bottle or a dimly lit street sign. Its ability to handle perspective distortion is superior to many desktop applications.
Steps to use Google Lens:
- Open the Google app or Google Photos.
- Select the image containing the text or point your camera at a physical document.
- Tap the "Lens" icon or the "Text" option.
- Highlight the text you wish to capture.
- Choose "Copy text" to save it to your clipboard or "Copy to computer" to send it directly to your linked desktop browser.
Professional Mobile Scanning with Adobe Scan
If you are dealing with multi-page documents rather than just snippets, Adobe Scan is the industry favorite. It automatically detects document edges, removes shadows, and converts the scan into a searchable PDF.
Steps to use Adobe Scan:
- Launch the Adobe Scan app and select the "Document" or "Whiteboard" mode.
- Hold your phone over the document. The app will automatically capture the image when it detects a steady frame.
- Once captured, you can adjust the borders or reorder pages.
- Tap "Save PDF."
- Adobe’s cloud-based OCR will process the file, allowing you to highlight and copy text within the Acrobat Reader app or online.
Best Desktop Software for Professional Image to Text Conversion
For high-volume projects or documents with complex layouts (like tables, columns, or technical diagrams), mobile apps often fall short. This is where professional desktop OCR software becomes indispensable.
ABBYY FineReader PDF: The Accuracy King
ABBYY FineReader is widely regarded by archivists and data scientists as the gold standard for OCR. It uses AI-driven technology to reconstruct the entire document structure, not just the text.
Experience Note: When we processed a 1950s scanned document with faded ink and three-column layouts, FineReader was the only tool that correctly identified the columns without merging the text horizontally across the page. It requires significant processing power, but the results save hours of manual reformatting.
Key Features:
- Multilingual Support: Recognizes over 190 languages, including those with non-Latin scripts like Cyrillic, Arabic, and Kanji.
- Zonal OCR: Allows users to manually define areas for text, images, or tables to improve recognition in complex magazines or journals.
- Verification Tool: Provides a side-by-side view where it highlights "low-confidence" characters for manual correction.
Adobe Acrobat Pro
For most office environments, Adobe Acrobat Pro is already the default tool. Its "Edit PDF" feature contains a robust OCR engine that makes scanned images behave like native Word documents.
Steps for Acrobat Pro:
- Open your scanned image or PDF in Acrobat.
- Click on the "Edit PDF" tool in the right pane.
- Acrobat automatically applies OCR and converts the image into an editable version of the document.
- You can now change fonts, delete sentences, or add new text directly onto the scanned image.
Fast and Free Online Methods Using Cloud Storage
If you don't want to install software, you can leverage the power of cloud-based OCR. This is perfect for occasional users who need high accuracy without the cost of a subscription.
Using Google Drive and Google Docs
Many people are unaware that Google Drive has one of the best hidden OCR features available. It is particularly effective at converting PDF scans into clean, formatted text.
How to convert jpg to text on Google Drive:
- Upload your image (JPG, PNG) or PDF to your Google Drive account.
- Right-click the file and select Open with > Google Docs.
- Google will create a new document. The original image will appear at the top, and the recognized text will appear in a standard, editable font below it.
- From there, you can download it as a .docx, .pdf, or .txt file.
Observation on Formatting: While Google Drive is excellent for text, it often strips out complex table formatting. Use this method when your priority is getting the raw words rather than the exact visual layout.
Using Native OS Features for Instant Text Extraction
Recent updates to Windows and macOS have integrated OCR directly into the operating system, making it possible to grab text from your screen without even saving a file.
Apple Live Text (macOS and iOS)
Apple's Live Text feature is deeply integrated into the "Silicon" chips (M1, M2, etc.). It works across Photos, Safari, and even in the camera’s viewfinder.
How to use it:
- On Mac: Open any image in Preview. Hover your cursor over the text; it will change to a selection tool. Click and drag to copy.
- On iPhone: Open a photo in the Photos app. Tap the small "Live Text" icon (a square with three lines) in the bottom right corner. All recognized text will be highlighted.
Windows Snipping Tool (Windows 11)
Windows has recently added "Text Actions" to its Snipping Tool, making it a powerful utility for grabbing text from any window or application.
How to use it:
- Press
Windows Key + Shift + Sto take a screenshot of the area containing text. - Open the resulting screenshot in the Snipping Tool window.
- Click the "Text Actions" icon in the top toolbar.
- Click "Copy all text" or select specific lines.
Why Your OCR Results Might Be Inaccurate
Even the best software can produce "garbled" text if the input quality is poor. Understanding these factors can help you troubleshoot bad results.
1. Resolution and DPI (Dots Per Inch)
The resolution of your scan is the single most important factor. For OCR, the industry standard is 300 DPI.
- Too Low (e.g., 72 DPI): The letters look jagged or pixelated, causing the software to misread "e" as "c" or "i" as "1".
- Too High (e.g., 1200 DPI): While accurate, the file size becomes massive and may slow down the processing engine without providing meaningful accuracy gains.
2. Lighting and Contrast
OCR relies on the distinction between the foreground (text) and the background (paper).
- Shadows: If you take a photo of a book and your phone casts a shadow across the page, the OCR engine may interpret the shadow as a dark block or a series of strange characters.
- Glare: Glossy paper or flash photography can create white spots that "erase" parts of letters.
3. Font Style and Handwriting
Standard fonts like Arial, Times New Roman, and Helvetica are easily recognized. However:
- Cursive and Decorative Fonts: These confuse older OCR engines because the letters touch each other, making it hard to find where one ends and another begins.
- Handwriting: This is the "final frontier" of OCR. Tools like Microsoft OneNote and Google Lens are getting better at it, but they still require relatively neat printing to be 100% accurate.
Advanced Tips for Complex Document Scanning
To achieve professional-grade results, consider these advanced strategies:
Multilingual Recognition
If your document contains both English and another language (e.g., a German technical manual), you must set the software to recognize both. If you leave it on "English Only," the OCR engine will try to force-fit German characters like "ü" or "ß" into English shapes, resulting in errors.
Pre-processing Images
Before running OCR, use a photo editor to:
- Increase Contrast: Make the blacks blacker and the whites whiter.
- De-skew: If the page was scanned at an angle, rotate it until the lines of text are perfectly horizontal. Most professional tools like ABBYY do this automatically, but doing it manually can fix stubborn files.
- Crop: Remove dark borders or fingers captured in the frame, as the software might waste resources trying to interpret these as characters.
Handling Tables and Data
When scanning invoices or financial reports, use tools that support "Data Extraction." Instead of just giving you a block of text, these tools recognize the rows and columns, allowing you to export the data directly into an Excel spreadsheet. Adobe Acrobat Pro and ABBYY are the leaders in this specific field.
Summary
The transition from image to text is a multi-step process that depends heavily on the quality of the source file and the capability of the software. For quick, on-the-go needs, Google Lens and native OS tools like Apple's Live Text offer incredible speed and convenience. For high-stakes professional work involving complex layouts or hundreds of pages, specialized software like ABBYY FineReader or Adobe Acrobat Pro is essential to ensure accuracy and maintain document structure.
Always remember the "Golden Rule of OCR": No matter how advanced the AI, always proofread the results. OCR is a tool meant to eliminate 99% of the manual labor, but that final 1% of human verification ensures your data is professional and error-free.
FAQ
What is the best free image to text converter?
For most users, Google Drive (Google Docs) and Google Lens are the best free options. They offer high-level AI recognition that rivals many paid services. For desktop users, the built-in Windows Snipping Tool (Windows 11) is an excellent free choice for capturing text from the screen.
Can OCR convert handwriting to text?
Yes, but with limitations. Modern AI-powered OCR tools like Microsoft OneNote, Google Lens, and Apple Live Text can recognize neat handwriting. However, messy cursive or shorthand still poses a significant challenge for even the most advanced algorithms.
How do I convert a JPG to Word?
The easiest way is to upload the JPG to Google Drive, right-click it, and select Open with > Google Docs. Once the document is open, go to File > Download > Microsoft Word (.docx). Alternatively, professional tools like Adobe Acrobat can export images directly to Word format.
Does OCR work with low-resolution images?
OCR accuracy drops significantly with low-resolution images. While some "AI Upscaling" tools can help sharpen a blurry image before conversion, it is always better to re-scan the document at 300 DPI if possible.
Is my data safe when using online OCR tools?
Privacy varies by provider. When using free online "OCR websites," your images are uploaded to their servers. For sensitive or confidential documents, it is safer to use offline desktop software like ABBYY FineReader or trusted corporate platforms like Adobe and Microsoft.
-
Topic: Image to Text Converter: How to Scan Text from an Image | Adobehttps://www.adobe.com/uk/acrobat/resources/scanning/image-to-text.html
-
Topic: Image to Text - Scan & Convert App - App Storehttps://apps.apple.com/us/app/image-to-text-scan-convert/id1598700044
-
Topic: How to Scan Words from Image: 4 Easy Ways to Extract Text (2026)https://pdf.wondershare.com/ocr/scan-picture-to-text.html